From the Main Menu, go to Distribution\Inventory\Processing\Entering Cycle Counts.
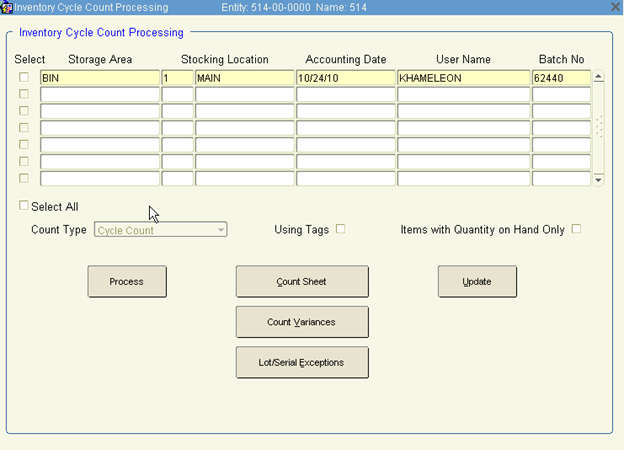
1. The current date is displayed as the default accounting date for the cycle count. This may be modified.
2. Select Cycle Count or Full Count in Count Type.
3. Enter the stocking location where items are being counted in the Stocking Location field or click the LOV.
4. Enter the storage area code that identifies the exact items being counted in the Storage Area field or click the LOV.
5. Check the Using Tags check box if inventory count tags are being used for the count.
6. Click Process all entered information is confirmed as correct.
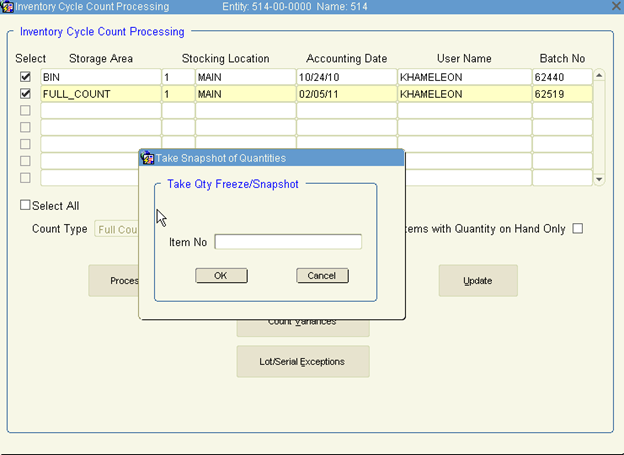
1. If spot counting, select an item number to freeze on-hand quantities in Item No or click the LOV.
2. Click OK to return to the menu. Exit out of the next screen if you want to print a count sheet.
This report should be printed after batch selections have been made in the Enter Cycle Count screen. Use the Print Count sheet to record quantities counted and tag numbers for data entry. Once you have entered the counts, re-print this report to review quantities entered for all items or only items that need to be re-counted.
From the Main Menu, go to Distribution\Inventory\Processing\Cycle Count Processing and click on the Count Sheet button
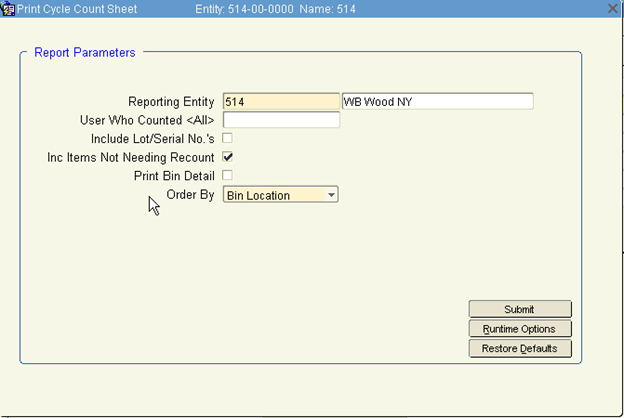
Enter the following Report Parameters:
User Who Counted <All>—Leave blank.
Include Lot/Serial No.’s—Do not check.
Include Items Not Needing Recount—Uncheck this box if you are in a forced recount process. The system will only print those items that require recounting.
Print Bin Detail—If the stock location related to this cycle count uses multiple bins, check this box to print the details associated with this item.
Order by—Select Bin Location.
This screen is used to enter cycle count results for the specified batch.
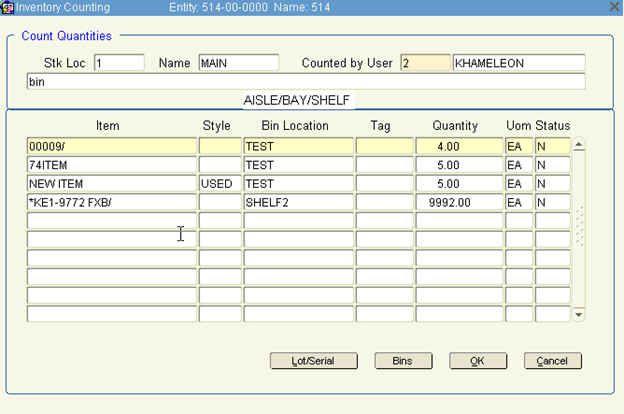
1. Enter the user who performed the count in the Counted By User field. The system displays items for the location and storage area identified on the transaction default screen.
2. Enter the tag number for the specified item in Tag.
3. Enter the quantity counted for the specified item, style, unit of measure, and bin location in Quantity.
If the quantity varies by more than the variances set for the stocking location, a variance has been encountered. Status defaults to 'Y'es. The system is now in a forced recount status. Follow the steps of the Print Count Variance Report to identify all items in a recount status.
Only users with Inventory Manager privileges may override or change the Status field to 'N'o. All items marked 'Y'es must be modified to 'N'o by a Inventory Manager before the batch may be updated.
4. Click Save once all cycle count information has been entered into the system.
5. Exit out of the form.
If you have items requiring review and an inventory manager has not reviewed them, the batch may not be updated. Count batches may only be updated when the status of all items is N – indicating all items have been approved by Inventory Manager.
From the Main Menu, go to Distribution\Inventory\Processing\Cycle Count Processing
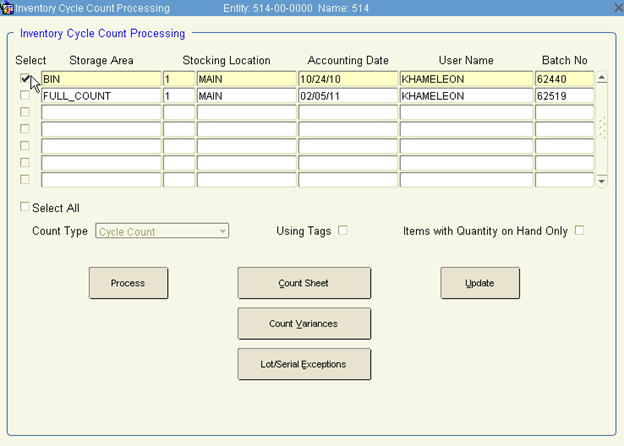
Select the batches you want to update and click Update.