The Lock box / AR Cash Receipt interface is designed for clients to upload Accounts Receivable Cash Receipts received in the form of a deposit list from a bank, in most cases where a lock-box service is in place.
Automation can be accomplished using scheduled Windows inserts directly into the Interface tables, API’s to pick up new interface files in a defined network folder, or full web services where new deposit list files are posted to an https:// site.
Customer MICR numbers are often provided by banks and can be used as a cross reference to the Khameleon customer number by defining MICR numbers from the Customer Master> Customer MICR canvas.
When purchased from Khameleon, the Vendor Invoice / AP Voucher Interface comes predefined with the mapping below:
1. BANK_NO
2. ACCTG_DATE
3. BATCH_SEQ_NO
4. MICR_NO
5. CHECK_NO
6. CHECK_AMT
7. INV_NO
8. INV_APP_AMT
9. BANK_BATCH_NO
10. DR_ENTITY (setup up constant value for entity)
11. HEADER
The above mapping requires a flat file layout as shown below:

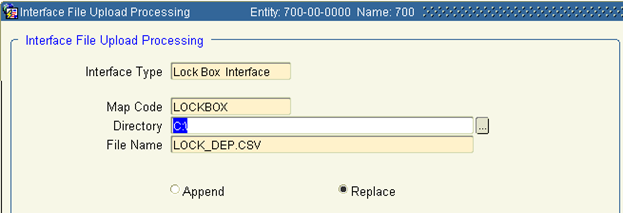
To process a Lock box / AR Cash Receipt Interface file, users can navigate to either Accounts Receivable> Cash Control> Lock-box Interface, or System SetUp> Processing> Interface File Upload.

Select the Interface Type of ‘Lockbox Interface’ from the list of values.
This will pre-populate Map Code, Directory, and File Name based on the default values defined in System SetUp> Maintenance> Interfaces> Interface Mapping Codes.
Because records are sent to an Interface table first, the radio button of Replace is recommended. If the Clear Exceptions button appears as enabled, it is also recommended to clear exceptions prior to starting a new upload.
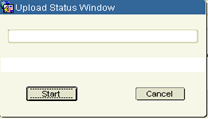
Click the Upload button to initiate the process which will copy a locally held file to the Application Server for more efficient processing. When this process is completed, the box below will appear:

Click Start to initiate the upload of the rows on the file into the interface table. For larger files, the record count will update upon completion of every 500 rows. Any hard failures will return an error message indicating the row of the error and the nature of the problem. Upon completion, the box below will appear.

This will enable the Process button found below the previously clicked Upload button. Click the Process button to send the uploaded records through the validation engine.
Any records that fail validation will be trapped in a bad table, where the user has the ability to review and update invalid records in the View / Edit Exceptions canvas. The View / Edit Exceptions button is only enabled when invalid records exist.
After updating invalid records, users can use the Resubmit Exceptions button to resend only the invalid records through the validation engine again. This process is repeated until no invalid records exist.
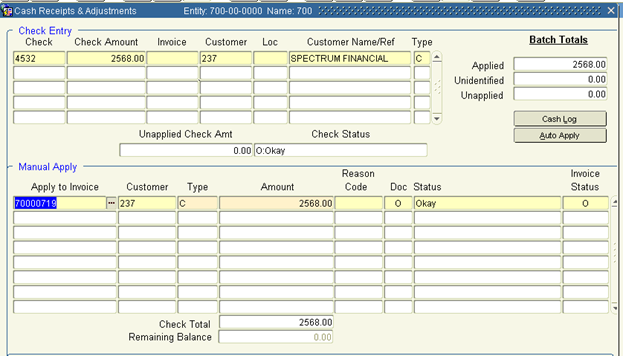
In the case of the Lock box / Cash Receipt Interface, batch records are created but not auto-posted. Batches are available for review and if necessary, manual application of a deposit to open invoices can be made as they would be during a standard Cash Receipt entry.
If the bank file contains customer invoice number detail, check amounts will be applied to these open invoices. If the bank file does not reference customer invoice numbers, only the header level cash receipt will be created, requiring user intervention to manually apply these deposits to open customer invoices.
