Generating 1099 Information from this screen can be processed multiple times if necessary. This would occur should you find that you need to add a vendor as a 1099 vendor in the contact menu and then re-run the 1099’s. If this is necessary, enter the year below and click on the De-Select radio button and then Process. Continue with the steps below to re-select the 1099’s for the appropriate year. If in running the first time you made corrections to the 1099’s in the Maintain 1099 Information screen either changing amounts or adding line items these will have to be redone again as they are lost by the de-selection process.
From the Main Menu, go to Accounting \ Accounts Payable\Processing\Prepare 1099\Generate1099 Information.
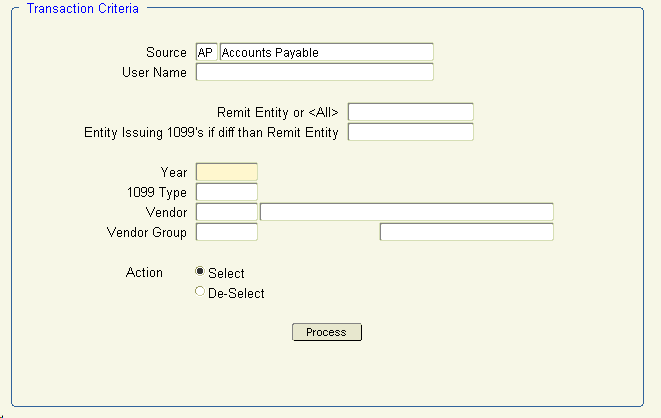
1. If you have more than one G/L entity to process, you may specify the entity from the list of values and enter it in Remit Entity. Otherwise, leave it blank to process all entries (recommended).
2. Tab to Year and enter the calendar year end date (YYYY).
3. Tab to 1099 Type. Select the type of 1099 you want to process from list of values, or leave it blank to process all types (recommended). MISC type will print both misc and rent 1099s on the same form.
4. Click Process.
5. If you receive a message – No check information to process based on the selected
criteria, then there is no 1099 information to process for this year on this 1099 type. If successful, you will see a message – Select Completed. You can process your next 1099 Type vendors if you are processing them individually. Click ![]() to exit.
to exit.
6. This information can be re-run by clicking on the de-select button and reprocessing, however any changes that are manually made in the Maintain 1099 Information section below will be lost and have to be re-done to break out the different 1099 types.
Maintain 1099 Information
From the menu options across the top of the Accounts Payable Menu, go to Processing\Prepare 1099s\Maintain 1099 Information.
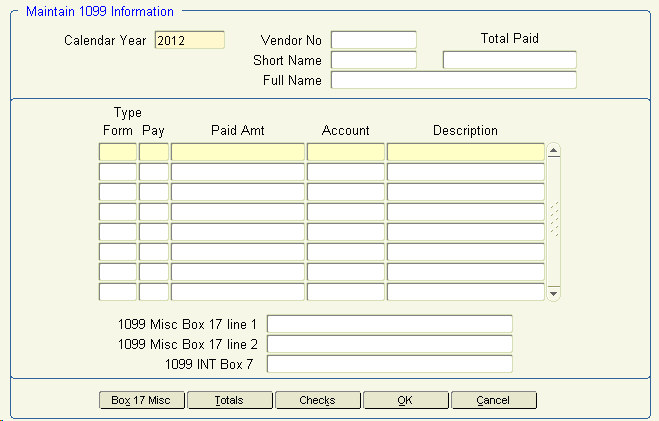
1. The default year will appear in Calendar Year. Tab and you will be prompted with buttons – Qualify Search or Get All Records. Click Get All Records.
2. Click the single blue arrow to view all 1099 payments. If an invoice was processed for the vendor in the Detail Voucher History Report above but was not captured as a 1099 payment, click on the Paid Amt and change the total amount of the payment and/or add lines of information if necessary. All information on the Detail Voucher History Report for each 1099 type should be captured in this screen prior to printing the 1099s.
1. At this point you can add lines for other pay types or change the Paid Amount. If part of the amount (ie $3200.00) to a MISC 1099 vendor is for rent (ie $200.00) add a line for form 1 pay 1 with the new amount. Also select the correct gl account in the Account field. Deduct this amount from the form 1 Pay 7 line for this vendor. (Shown in the screen shot above.)
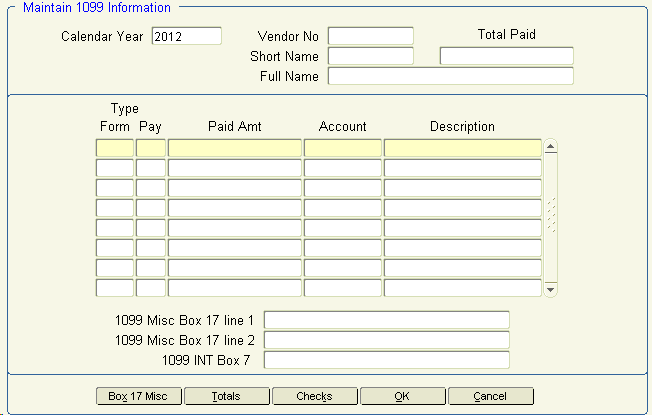
2. Click Checks to view the complete check history for the specified vendor.
3. To view each vendor click on the single blue arrow to scan through each one and/or make other necessary corrections.
4. After viewing all information for accuracy, click OK. Click ![]() to exit.
to exit.
Please note that if you ever de-select your payments from the Generate 1099 Information screen to re-process them for any reason, any changes you made on the maintain 1099 information screen to break out form information will need to be re-entered.
This report will print the detail of all checks paid to the vendor (even if the voucher was not paid as a 1099 voucher but you added the information to the 1099 Maintenance screen).
From the Main Menu go to Processing\Prepare 1099s\Print Detail 1099 Information.
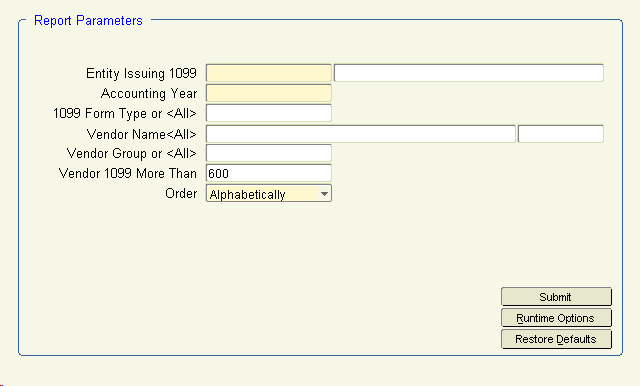
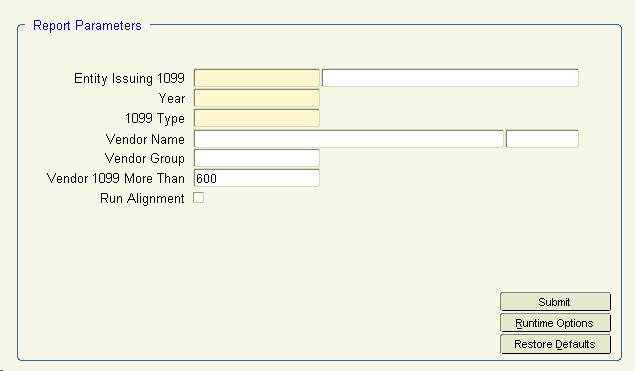
1. Select your Entity Issuing 1099 from the list of values.
2. Tab to Accounting Year and enter the calendar year you are processing (YYYY).
3. Tab to 1099 Form Type and select type 1 or 2 from the list of values that you want to print.
Tab again so that the correct printing defaults appear on the form at the bottom of the screen.
4. Vendor 1099 More Than should be 600 for type 1. Change it to 0 for type 2 1099s.
5. Click Submit to print the report.
6. Repeat this process (starting at step 3) for type 2 1099s.
7. Review the report for accuracy. Make sure each vendor has a social security number on the form.
From the menu options across the top of the Accounts Payable Menu, go to Processing\ Prepare 1099s\Print 1099s
1. Click the list of values to select the Entity Issuing 1099.
2. Tab to Year and enter the calendar year you are processing (YYYY).
3. Tab to 1099 Type and select the appropriate 1099 type you wish to process (Type 1 or 2).
4. Tab to Vendor 1099 More Than. For type 1 1099s, leave this as 600; for type 2 1099s, change this to 0.
5. Click Submit to print the actual 1099s. Put the correct forms in your printer to print them.
1099s may be run as often as necessary. 1096 forms for 1099 total information must be manually typed outside of the Khameleon system.