After the vendors to be paid are selected, print the checks.
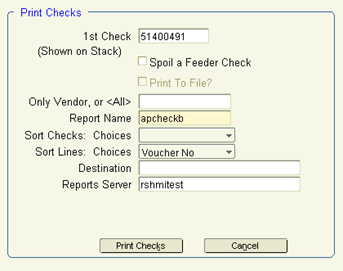
1. From the Check Processing screen, select Print Checks.
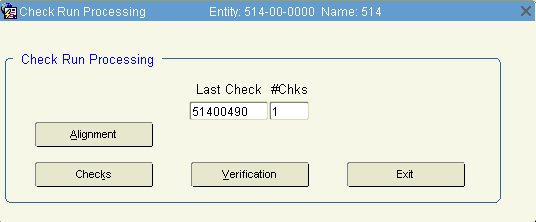
2. The screen will display the next check number available. Click the Checks button.
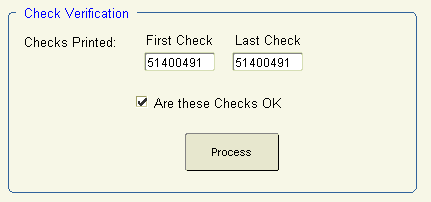
3. Click Print Checks which will generate the check run to pdf previewer. 4. Ensure stock paper placement in the printer, and send the output to Printer. 5. Upon completion, confirm successful check generation by leaving the checkbox checked and click Process.
Note: Manual checks with Pay type ‘Other’ (wires, etc) do not use the print check process. Update Check Batch 1. Check the Select box for the check batches to update. You may use Select All at the bottom to process all open check batches. 2. Click Update. You'll be prompted that the batch is about to be posted. Click OK. 3. Exit the form and return to the Main Menu |
|
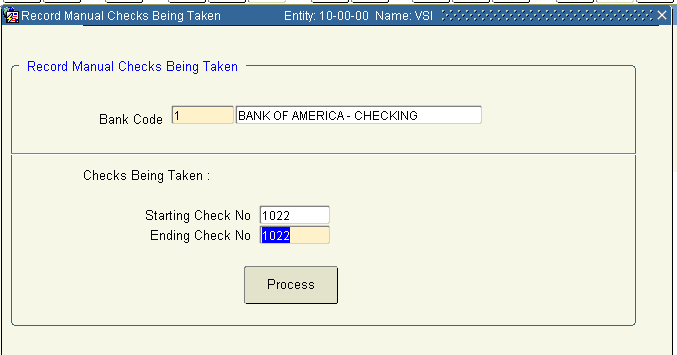
Reserving Manual ChecksFrom Accounts Payable> Maintenance> Bank Accounts> Manual Check Control, the first requirement for the use of Manual Checks is to identify a defined Bank Number, and the range (start/end) check numbers that are being reserved for manual check usage. **During new deployments where Khameleon is running parallel to a legacy system sharing the same check stock – this is a good tactic for reserving a range of check numbers to be used by the legacy system. Select a bank number and range of checks. Click Process. In the below example, check 1022 will be reserved for use as a manual check. The next starting check number for a standard Khameleon check run will be set to 1023.
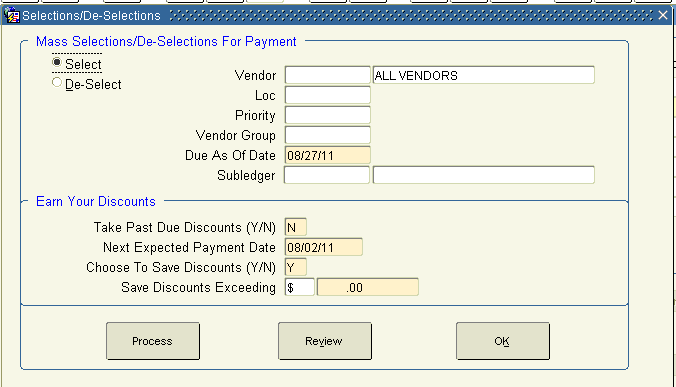
Issuing Manual ChecksFrom Accounts Payable> Processing> Process Checks, create a new check batch populating the standard fields as required. Click Process. Within the below Selections / De-selections canvas, skip the normal process of selecting vendors for payment and go directly to the Review canvas by clicking the Review button.
Within the Review canvas below, treat the Check preview as a data entry canvas and populate the details of the manual check you wish to enter, starting with the Check Number in the upper right hand corner as the check number that you previously reserved. Select a vendor eligible for payment using the vendor number AND location number list of values – then click the Check Stub button to identify open vouchers from AP to be included in this check. The initial Check Stub canvas will be blank – use the list of values on Voucher to determine what records should be included for payment. Click OK once finished selecting available vouchers – this will return you to the Review screen with the amount on the check populated. Click OK again to return to the main Process Checks window. Use the Edit List to review Check details if needed, otherwise use the Update button to post the manual check, as manual checks require no printing. |
|