Use this screen to enter general ledger account ranges. There must be a one-to-one relationship in this screen for every account that is set up in the GL Accounts screen.
From the Main Menu, Go to Accounting\General Ledger\Maintenance\Accounts, Account Groups\Account Group Ranges.
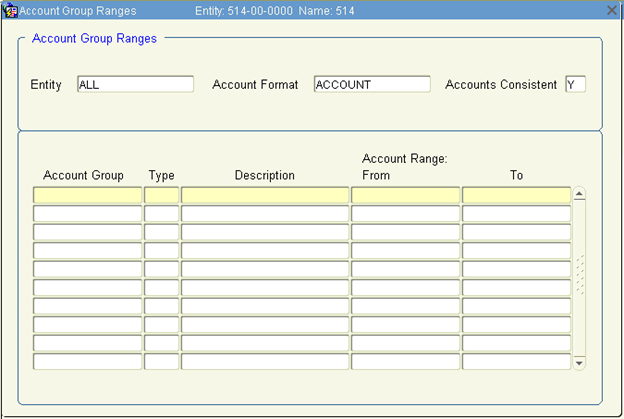
1. To set up a range, enter the following:
Account Group |
User defined account group name |
Type |
A = Group of General Ledger Accounts G = Group of Account Group Note: Start with defining type 'A' groups, since they represent account detail. Type 'G' groups may be viewed here, but must be established in the Account Group Roll-ups screen |
Description |
Description of the account group |
Account Range From |
Enter every new account with an ‘A’ in front of it (example: A400090). These need to be entered as individual accounts (not ranges) so that financial reporting on individual accounts can be established. |
Account Range To |
Ending account range |
2. Save and then Exit to return to the previous screen.
Setting Up a New Account
Use this screen to view and enter general ledger accounts.
Go to Accounting\General Ledger\Maintenance\Accounts, Account Groups\G/L Accounts.
To view an existing account, query on a partial number of the account (example: 40%).
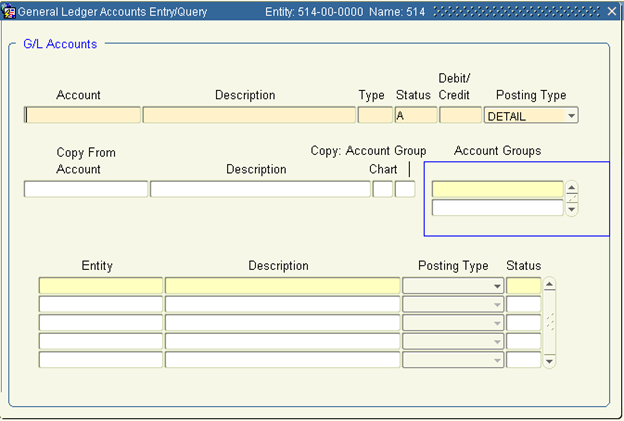
To enter a new account following these steps:
1. Enter the new account number in the Account field. Tab a prompt will display. Click OK. that the account is being added to an account group for its number. Click OK.
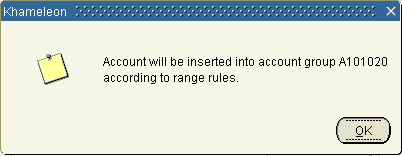
(Example above: 101021 entered as the account. Range A101020 to A101021 established previously.) If the message isn't displayed, go back to the Adding Account Groups procedure. The group must be established first.
2. Enter a description of the account in the Description field.
3. For Type, enter one of the following account types:
A - Asset account
L - Liability account
C - Capital account
R - Revenue acct
E - Expense account
4. For Status, enter one of the following:
A - Active account
I - Inactive account
S - Active account, but only users with the accounting super privilege can create
entries for that account
5. Enter 'D'ebit or 'C'redit in debit/credit field.
6. Select Summary or Posting from the Posting Type drop down list. When creating new accounts in the G/L Accounts block, the posting type defaults from the settings in the G/L Control Record screen. It may be modified if a detail posting type has been selected in the Set Up Companies screen. Use summary for all sales tax.
7. Enter a valid G/L account in the Copy From Account field, or click List for a list of valid values. Copy an account number that has the same valid entities that you want this account to have.
8. Enter 'Y'es in the Chart field to make this account valid in the same entities as the copy from account.
9. Enter 'Y'es in the Copy Account Group field to set up this account in the same account groups as the Copy From Account.
10. Click Save to create the new G/L account and make it valid in the same entities that could use the copy from account.
11. Go to the Entities Where Account is Valid section to enter more entities manually.
12. In the Entities Where Account is Valid section, select the entity from the LOV. The description of the entity selected will default in. New entities may be added, but existing entities may not be deleted.
Change the status of undesired entities to ‘S’ to put them on hold. Do not put the entity to ‘I’, because you won't see it to re-activate it later.
Note: A self-balancing entity must be associated with an account if any children posting entities are to be associated with that account. To avoid erroneously posting to the self-balancing entity, set the entity's status as ‘S’upervisors Only.