It is necessary not only to cancel an order within Khameleon, but also to contact the vendor to cancel the product.
(Remember, if there is a cancellation fee, you'll need to account for that in the system as well,as outlined in the section below, called “Adding a Cancellation Fee to a Project Order”.)
From the options within the Project Order menu, select “Processing”, then “Order
Processing”, and then “Enter Sales Orders”.
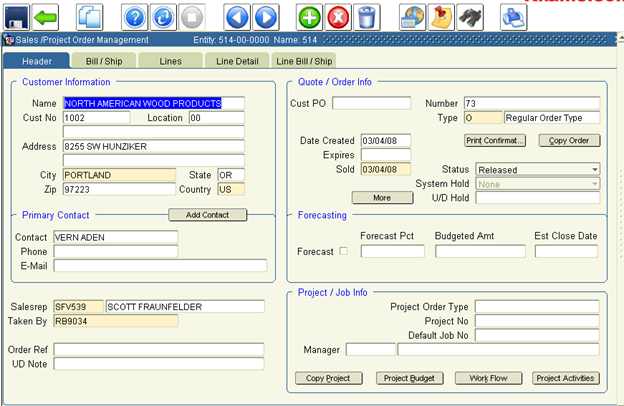
1. Click on the ‘query’ icon. Using the fields in the ‘Header’, specify the project order
you wish to cancel. Once specified, click on the ‘query’ icon to access that order.
Once the appropriate project order is displayed, click the delete button on the tool-bar.
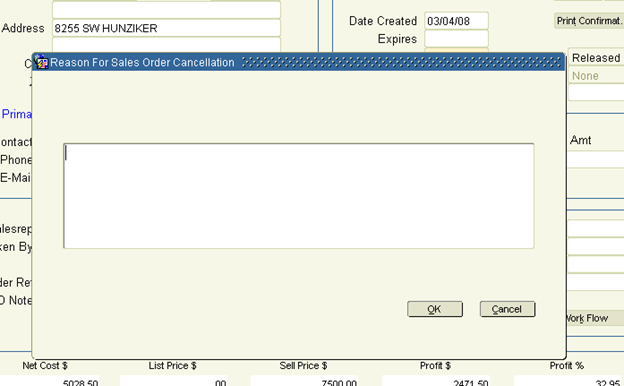
2. A “Reason for Sales Order Cancellation” text box will appear, enabling you to enter information pertaining to why the order is being canceled. Once you've entered the information, click on the ‘OK’ button.
3. Exit the form.
1. Once in the ‘Order Entry’ Menu, select “Processing”, then “Order Processing”, and “Enter Sales Orders”.
2. Click on the ‘query’ icon. Using the fields in the ‘Header’, specify the project order
to which you need to add a cancellation fee.
3. Click on the ‘Lines’ tab.
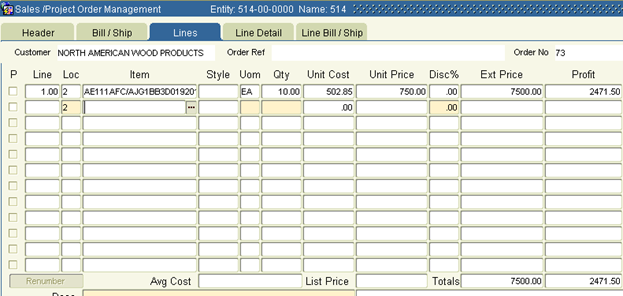
1. Click on the ‘green plus sign’ icon to add a new line.
2. Your cursor is now in the Item field. Using the list of values, select ‘CANCELLATION/RESTOCKING’.
3. TAB to the Qty field. (In doing so, you'll receive a message, saying “No Vendors
have supplied this item. Must set up vendor items first.” Click ‘OK’.) Type a
number “1” in the Qty field.
4. TAB to the Unit Cost field, and enter the amount being charged to the dealership by
the vendor for the cancellation fee.
5. TAB to the Unit Price field. Enter the value the dealer is charging the customer for
the cancellation fee. (You may be prompted by another message box, indicating
“This Ship To Customer Location does not allow shipments.” Again, go past this
message by clicking on “OK”.)
6. Click on the ‘Confirmation’ tab. (You may be prompted by another message box,
indicating “This Ship To Customer Location does not allow shipments.” Click
‘OK’.) Once there, click on the ‘Confirm’ button. The system will prompt you to tell
you the order is now ready for processing. Click ‘OK’, then click on the red door
icon to exit the form (screen).
7. The ‘CANCELLATION/RESTOCKING’ fee item may now be fulfilled and invoiced.
(Refer to the documented processes for “Fulfill Services” and “Invoicing”.)